

psql when your project has a configured database connection.
Features
Shell provides the following capabilities:- Run multiple shells: Open multiple shell instances to work on different tasks simultaneously
- Search for text: Find specific text in the shell output
Usage
Open a project before using either method.- Tools & files
- Search
1
Open Tools & files
Select the + button in the tab bar. A New tab opens with the Tools & files menu.
2
Find Shell
Enter 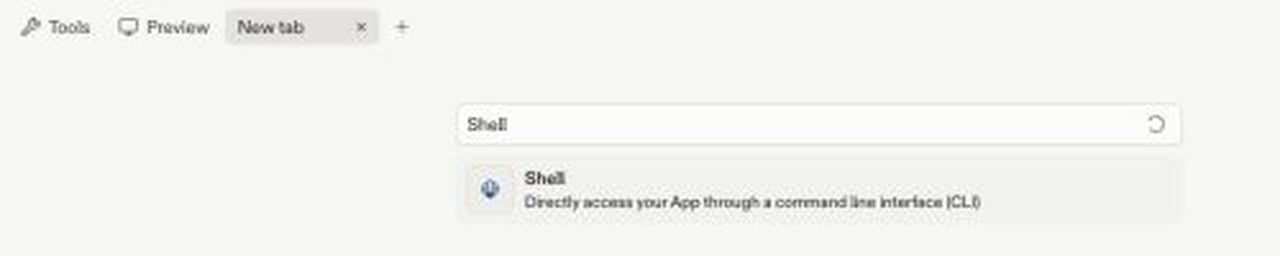
Shell in Search tools.3
Open Shell
Select  Shell. Shell opens in a new tab.
Shell. Shell opens in a new tab.
Confirm Shell access
To confirm Shell is ready and view the current workspace, run:
The pwd command prints the current workspace path and returns to the Shell prompt.
Text search
The following steps describe how to access and use the text search tool:- Select the
 magnifying glass at the top right of the Shell tab to open the search dialog.
 - Enter a search term and select Next to navigate through the matches.
- Use Previous to go back to prior matches.
- Select Exit or click outside the dialog to exit the text search.
Multiple shells
To create another shell:- Select the Shell instance menu in the Shell panel header.
- Select New Shell.

Next steps
To learn more about related workspace tools, see the following resources:- Console: Learn how to use Console to monitor your Replit App workflows.